It All Begins at the Kitchen Table
by Chef Deb Traylor
Every big idea starts as a simple thought or mild musing at some point in its early life. Whether it’s a little daydream, an improbable realization or somehow connecting the “dots” acquired over one’s life, I’ve often wondered what gives a simple idea its legs? What makes it stick? What makes others sign up or follow along? At what point does one no longer listen to the “that’s crazy” or “that’s risky” voices and move forward?
I can’t tell you how many times all of us here at Ginger and Baker have given tours or attended meetings or tastings and been asked, “how did this all happen?” The truth is, and I am not stretching on this, it was because one woman loved the time and place where she grew up and the food she grew up with. She remembered, like so many of us, that the kitchen was a place where she learned about life, politics, family, faith, and love. Where she learned how to work math problems, sew a button on a shirt and how to heal a broken heart. Where she learned that no matter how hard life was, there were always others who had a little less and could maybe use a little help.
It was over food and reminiscing about our mom’s kitchens that Ginger and I first connected over a decade ago. Like many of us here at Ginger and Baker, we have memories of beautiful, giving moms, kitchens, food and pie.
I recently received a Facebook notice of the three-year anniversary of a photo we posted that featured one of the small storefronts we initially visited just up the block from what is now Ginger and Baker! Wow, three years… and we are almost there!
For those of you who have been part of every step of Ginger and Baker, and for those of you who are just taking a peek into our journey… thank you! We cannot wait for you to walk through our doors and say “hi” or tell us that you’ve tried a recipe or two. We want to hear your stories of our wonderful historic building (and pie!) and we humbly thank you for listening to ours.
Today the old Northern Colorado Feeders Supply building has a whole new look inside, we’ve swept out the grain, shored up the old brick walls and put a heck of a lot of elbow grease into making it shine. One of our favorite rooms is the Teaching Kitchen in the heart of the old mill. This space is dedicated to play, community and learning, just like our memories of growing up around the kitchen table.
We’ll have a regular schedule of cooking, technique and baking classes, plus wine tastings and beer pairings as well as crafting, kids classes, book clubs and more; if you want to learn something, more than likely, we can set up a class for it!
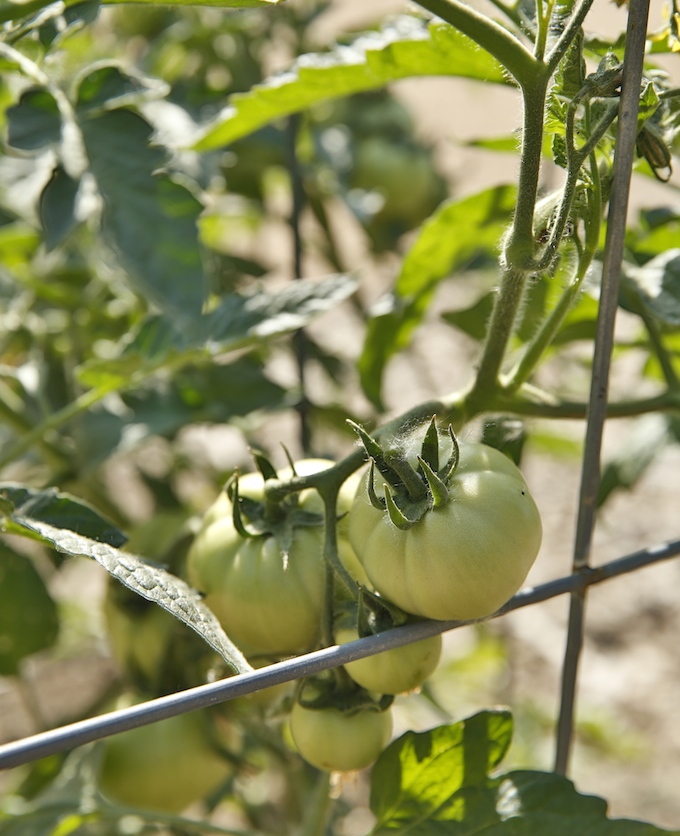
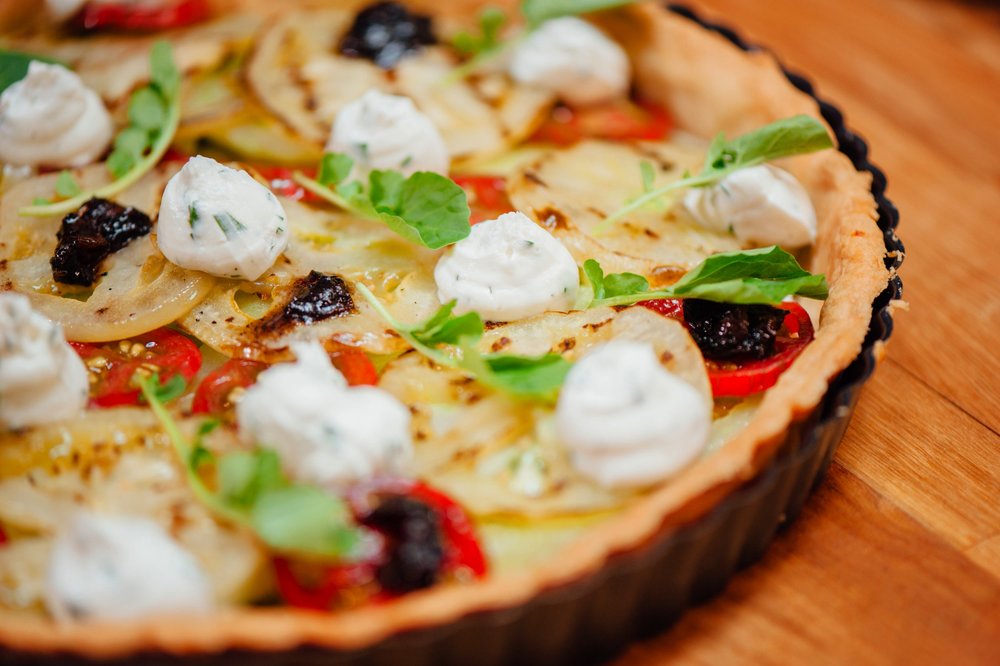
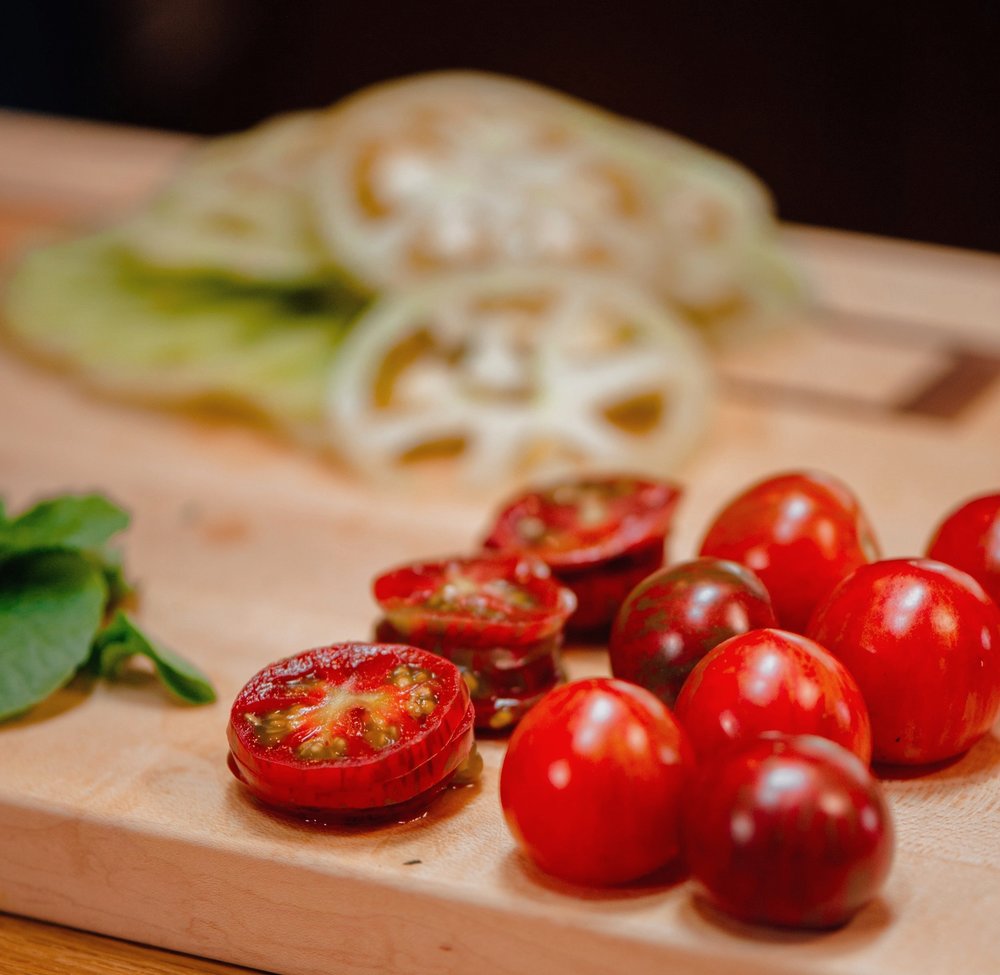
Today we’re offering a glimpse at the varied classes with a quick how-to on flower arranging and a tutorial on putting together a Green Tomato Tart. This end-of-summer tart showcases tangy green tomatoes, heirloom tomatoes and luscious bacon onion jam. (Don’t worry, there will be leftover jam.) You can grill half of the green tomatoes for added flavor and texture or simply slice and layer green and red tomatoes from your garden or farmers market.
While we used baked piecrust as our base in the tutorial, feel free to use this combo of green tomatoes, goat cheese and bacon onion jam on sliced toasted baguettes, your favorite cracker, pizza crust or whatever you have on hand. Think of today’s recipe (and our Teaching Kitchen) as a starting point, if you will, for your own imagination.
Green Tomato Tart w/ Goat Cheese and Bacon Onion Jam
- 1/2 recipe Ginger and Baker Basic Pie Dough (recipe below), or a roll of refrigerated pie crust
- 6 oz. goat cheese, room temperature
- 1 Tbsp. chopped fresh tarragon
- 1/2 cup heavy whipping cream
- 1/2 tsp. salt
- Bacon Onion Jam (recipe below)
- 3-4 medium green (unripe) tomatoes, sliced 1/4 inch thick
- 4-5 grape or pear tomatoes, sliced, for garnish
- salt and pepper
- 1 Tbsp. extra virgin olive oil
- a few arugula leaves for garnish
Preheat oven to 375 degrees. Roll out dough on a lightly floured surface until it’s just a bit larger than a 9-inch tart pan. Press crust into pan, cover with a sheet of parchment paper and fill shell with uncooked rice or beans (this is called blind baking). Bake for about 15 minutes, until crust is golden brown. Cool.
If you prefer to add some grilled tomatoes, preheat grill to medium and brush half of your green tomatoes with olive oil and sprinkle with salt and pepper. Place on hot grill and cook until grill marks appear. Use tongs to flip and repeat. Cook just until grill marks appear and tomato is warmed through.
To prepare filling, use a wooden spoon to stir the goat cheese until it softens, add herbs, salt and a few tablespoon of heavy cream and mix until all the liquid is combined. Continue adding cream, a few tablespoons at a time, until all cream is incorporated. Note: How much cream you use depends on the goat cheese you purchase, some goat cheese may need very little cream, others may need more than suggested. We are looking for a thick, spreadable peanut butter consistency. Add salt and pepper to taste.
Use a pastry bag or spoon to dollop half of goat cheese onto the bottom of baked tart shell. Use a spatula or knife to spread out the cheese in an even layer. Add small dots of Bacon Onion Jam over the surface of the tart. Next, add a layer of the ungrilled green tomatoes over the goat cheese and onion jam and lightly salt and pepper. Top with sliced grape tomatoes, then a layer of grilled green tomatoes (or more ungrilled green tomatoes if you choose not to grill). Pipe or spoon out the remaining goat cheese, followed by more dots of bacon jam (you’ll have leftover bacon jam for other uses). Sprinkle a little more salt and pepper, then drizzle olive oil over tart and finish with a few sprigs of arugula. Serve within an hour so the crust remains crisp.
Bacon Onion Jam
- 1/2 lb. thick sliced bacon (we like applewood smoked), cut into 1/2-inch strips
- 2 small red onions diced, (yellow will work too)
- 1/2 tsp. yellow mustard seeds (optional)
- 1 sprig of thyme
- 1/2 tsp. red pepper flakes
- 1 Tbsp. brown sugar
- 2 Tbsp. balsamic vinegar
- 1 Tbsp. red wine vinegar
- salt and pepper
Heat a medium sized saucepan with lid over medium-low heat and add bacon slices. Slowly cook until all the fat has been rendered, it will take about 10 minutes. Remove all but about a tablespoon of bacon fat. Add the onions, mustard seeds (if using), thyme sprig, red pepper, brown sugar, and both vinegars and stir to combine. Lower heat and cover pan and cook for approximately 20 minutes, taking care to stir the mixture occasionally to keep from sticking. Mixture should be thick and jammy. Taste and season with salt and pepper if needed. Cool and put in a container with lid. It will keep for up to two weeks in the refrigerator.
Basic Pie Dough
(you only use half of this recipe for the tart crust, but we suggest making the whole recipe and saving half for another pie!)
- 2 1/2 cups flour
- 2 tsp. fine sea salt
- 3/4 cup unsalted butter, cut into 1/2 inch pieces, chilled
- 1/4 cup Tbsp. non-hydrogenated vegetable shortening, cut into 1/2 inch pieces, chilled (or 6 Tbsp. additional butter if not using shortening)
- 1/2 cup + 1 Tbsp. ice cold water
- 1 tsp. lemon juice or vinegar
- Combine flour and salt in a medium bowl. Add chilled butter and shortening and toss to completely coat with flour. Using your hands or a fork, quickly smash the pieces of butter/shortening between your thumb and fingers to flatten each piece to the size of a dime. Gently stir the flour and butter to make sure you flattened most of the pieces.Combine ice cold water and lemon juice (or vinegar), and drizzle half of the lemon water over cold flour mixture and stir until the dough just starts to come together or turns “shaggy”. We prefer to use our hands but a fork works nicely too. Begin adding a few more tablespoons of water at a time, stirring between each addition. Once most of the water has been used (but you have a tablespoon or two remaining) use your hands to gather the shaggy strands into a ball and knead the dough two or three times. If you have dry bits remaining in the bowl, add a little additional water. (Your dough may appear wet or dry depending the climate in your area, so you will need to go slowly and adjust accordingly.)Gather the dough in a ball, dust your counter with a tiny amount of flour, and quickly pat dough into a small flat disk. Cut dough in half and then stack one piece on top of the other, flour side down. Use the heel of your hand and press the dough down and divide in half once more. Cover both pieces with plastic wrap. Chill the dough for at least 4 hours or overnight. This dough can be made a day or two in advance. Makes enough for two 8 or 9-inch pie crusts.