Farmers Markets and Fried Cherry Pies
by Chef Deb Traylor
Things I love: family, friends, rescue dogs, a newly sharpened knife, an 11” American-made black steel frying pan, early mornings at my local farmers market and fried cherry pies!
I have an honest-to-goodness fondness for our local farmers, and this admiration is so strong that I consider it a privilege to wake up early, gather my market bags and be one of the first to arrive as the they unpack at the farmers market.
As anyone who has ever had a garden knows, the amount of work it takes to grow, harvest, and pack food to sell at various markets each week is mind boggling. By showing up early it gives me a few minutes of uninterrupted time with some of my favorite farmers. We talk about what’s in season and what I might see next week. The other part is, after years of volunteering at the Longmont Farmers Market it’s hard not to feel a connection to the group of people who helped me become a better chef. Yep, I am a market groupie!
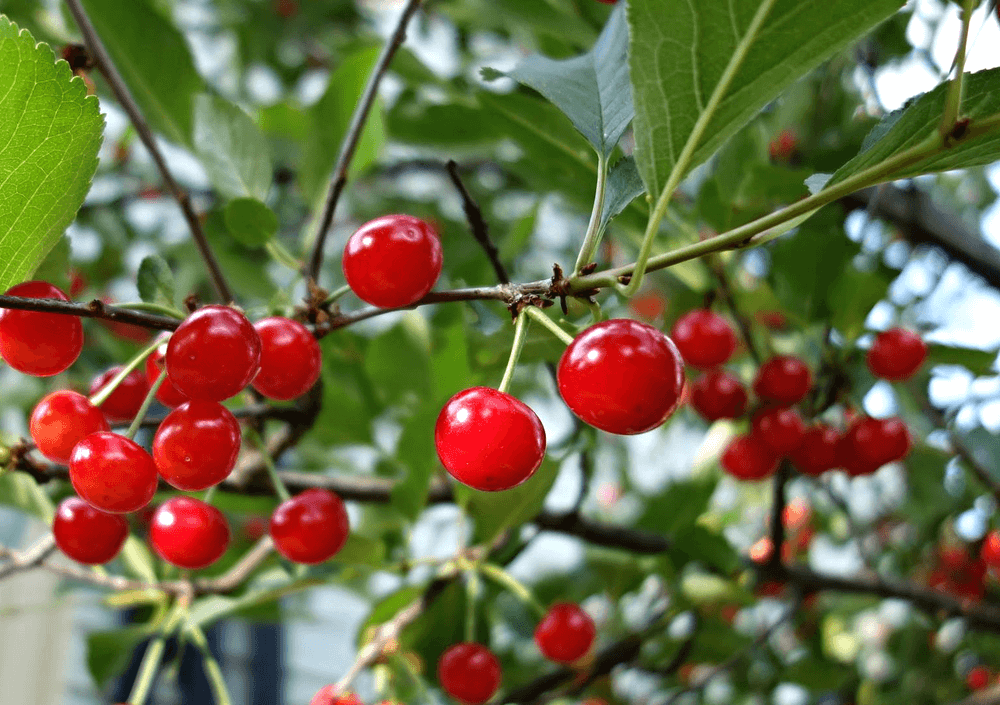
Which brings me to a related subject. It’s cherry season in Colorado! We grow many varieties of cherries on the high plains of this beautiful state, and nothing makes the masses flock to the farmers market faster then the promise of Colorado cherry season (and Palisade peaches)!! Be forewarned, If you aren’t early there’s a good chance you’ll be greeted with a sign that says “sorry, sold out of cherries …see you next week”, and it can be as traumatic as watching your ice cream cone fall to the ground. If you love cherries as much as we do, then you’ll only arrive late once in your lifetime. Cherry season is short, but the memory of a missed opportunity lasts forever.
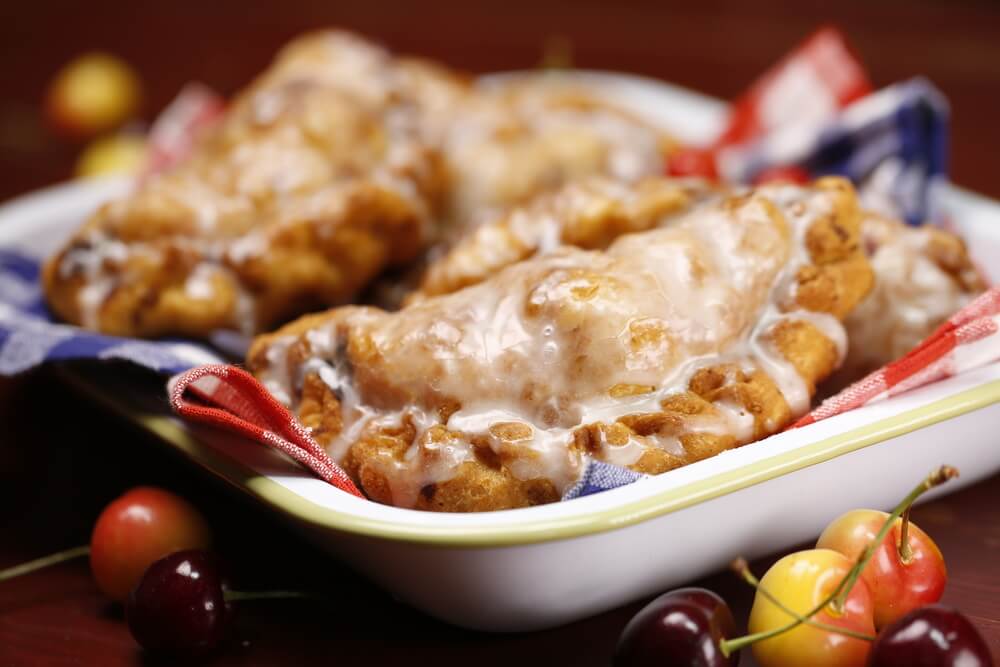
Usually by the second or third week of cherry season I’ve had my fill of eating them straight out of the bag, and I start dreaming of how to take those cherries to the next level. Ice cream? Scones? Cobbler? Good choices all, but nothing says love, at least to us, like a Glazed Fried Cherry Pie!
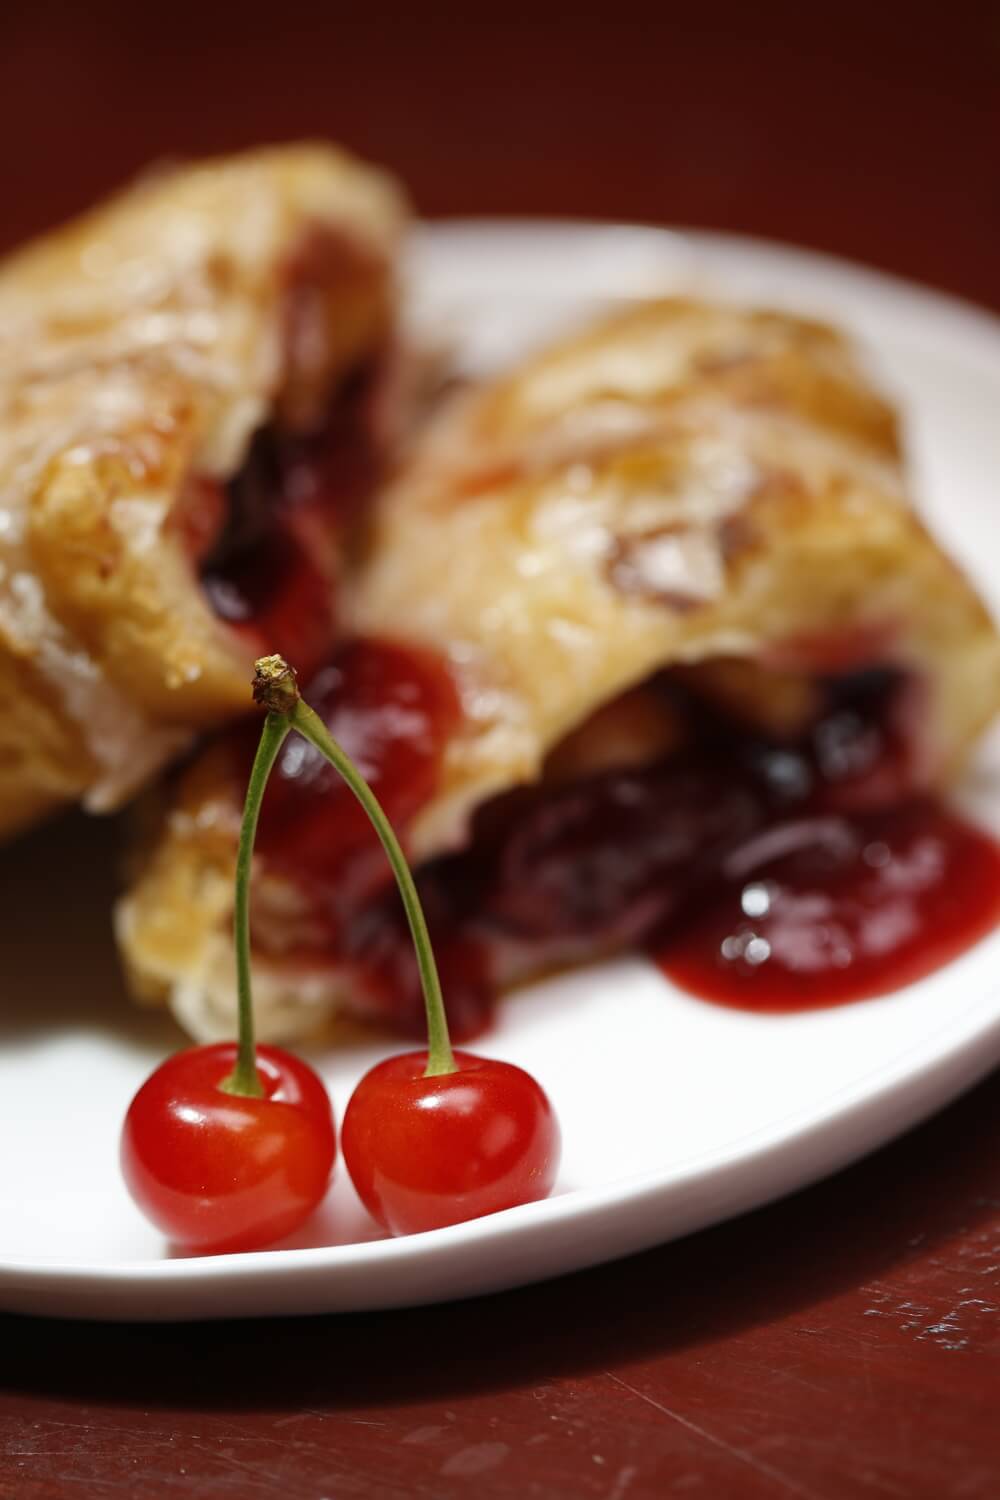
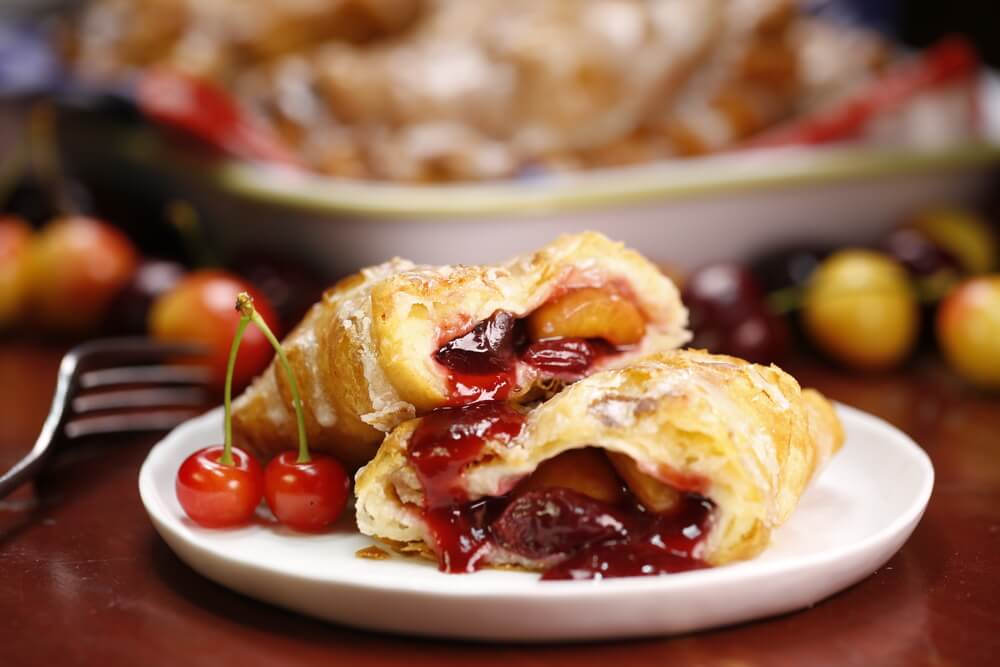
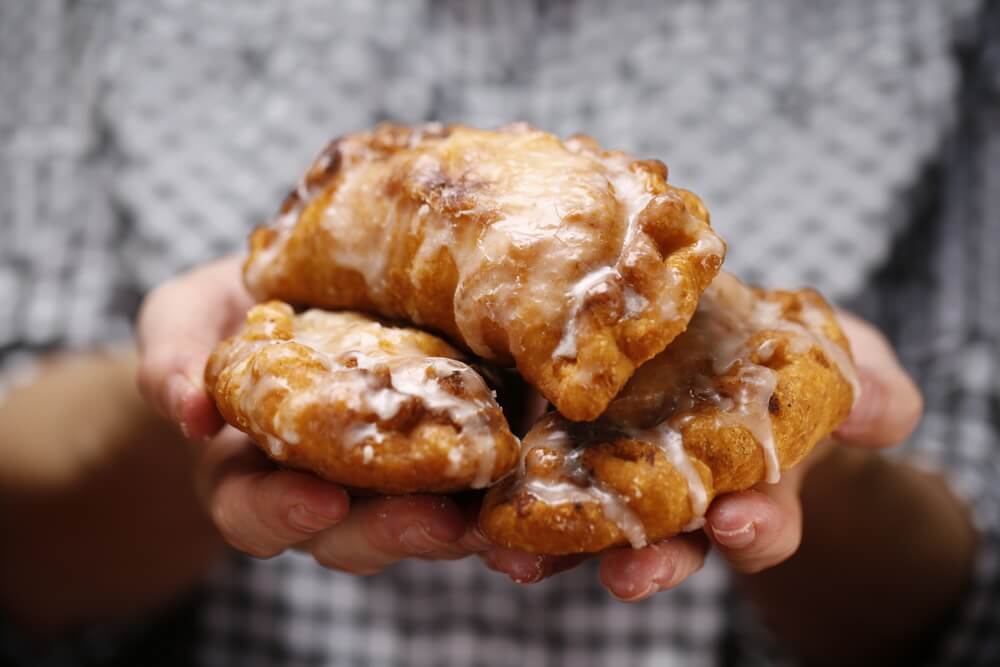
Admittedly, there is a little bit of effort to make these little pockets of summer love, and if you can refrain from eating half of them yourself, they are completely worth the effort. The end result is a perfectly-sized pie of juicy cherries and flaky dough under a sweet drizzle of glaze that fits nicely in your hand. I have to say, these little guys make people happy and that’s why I include them in my “things I love” list. If you don’t have the time to make these yourself… we hope you will stop by next cherry season and try them at Ginger and Baker, I promise you they will be on the menu!
Here are a few notes:
- We use 2-3 varieties of cherries in our recipe because it offers a more complex flavor profile. Think tart, sweet and a deeper cherry flavor. We used local cherries, but you can also use frozen cherries, just try to find a mixture of sweet and tart.
- We fry our pies in a cast iron Dutch oven because it holds an even temperature. Cast iron was made for frying!
- We macerate our cherries in sugar for a few hours or overnight to extract some of the juices. These juices are separated and cooked with a thickener, then cooled before assembling
- We tend to use much less sugar in our cherry mixture because we prefer our pies on the tart side.
- Brush the glaze on the pies while they are still warm. I prefer to use a natural bristled pastry brush rather then the silicon brushes for even coverage.
- This recipe is best for pies that are served quickly. The dough will soften if they are held for more then an hour. However, this did not seem to matter to our team when we were shooting for this blog!
Glazed Fried Cherry Hand Pies
Makes: 10 fried pies
For the dough:
- 2 1/2 cups all-purpose flour, plus more for dusting
- 1 Tbsp. granulated sugar
- 1 tsp. baking powder
- 1/2 tsp. salt
- 3 Tbsp. unsalted butter, cut into 1/2-inch pieces
- 3 Tbsp. vegetable shortening
- Vegetable oil, for frying
Pulse the flour, sugar, baking powder and salt in a food processor. Add the butter and shortening and pulse until the mixture looks coarse. Drizzle in 6-7 tablespoons ice water and pulse until the dough starts coming together.
Turn the dough out onto a piece of plastic wrap and lightly knead to bring it all together, about 5 or 6 turns. Form into a disk, wrap in plastic wrap and refrigerate for at least an hour or overnight.
Divide the dough into 10 pieces and roll each into a ball. On a lightly floured work surface, roll out each ball into a 6 1/2-inch round, using as little flour as possible. Stack the rounds between pieces of parchment paper and refrigerate until firm, about 30 minutes.
For the filling:

- 3 cups pitted cherries, (about 1 ½ pounds)
- 1/3 cup granulated sugar
- pinch of salt
- 1 Tbsp. cornstarch
- 1 Tbsp. fresh lemon juice
- 1 egg, beaten, to help seal the pies
For the glaze:
- 1 tsp. vanilla
- 2 Tbsp. milk
- 1 cup powdered sugar
Roughly chop half of the cherries, leaving the rest whole. Combine the cherries, granulated sugar and salt in a medium bowl and let rest at room temperature overnight or for a few hours (if you are in a hurry you can skip this part). Transfer macerated cherries to a medium saucepan and cook over medium heat. Gently warm and stir to ensure sugar has dissolved, about 3-4 minutes. Turn off heat and let the mixture cool for few minutes, then spoon about 2 tablespoons of the juice into a small bowl; stir in the cornstarch until dissolved. Add the cornstarch mixture to the saucepan and continue to simmer, stirring, until very thick, 6 to 8 more minutes. Transfer to a bowl, stir in the lemon juice and let cool.
Remove the dough from the refrigerator and lay all 10 circles out on the counter, lightly brush the egg wash on the outer 1/2” edge of the entire circle. Place approximately 2-3 tablespoons cherry filling in the center of each round, fold in half to enclose, then crimp the edges to seal.
When ready to fry: Add 3 inches of vegetable or canola oil to a cast iron Dutch oven and heat to 350 degrees. You can test the oil by tossing in a small piece of dough to see if bubbles form quickly around the dough, it if does, it’s ready.
Place the pies in the hot oil, one or two at a time, and fry until golden brown on both sides, about 2-3 minutes per side. Remove pies with a slotted spoon and place on paper towels to drain. Repeat until all the pies are made.
To prepare glaze, whisk together the powdered sugar, vanilla, and milk until smooth. Before glazing, move pies to a cooling rack with parchment or wax paper underneath (to catch drips). Brush or spoon glaze over pies while they are still warm. We only glaze one side, but feel free to turn them over in 4-5 minutes and glaze the other side for extra sweetness.