by Ginger Graham
I’ve always loved my name. It’s unique. And since it matches my hair, it’s always been easy for people to remember.
People frequently ask me if it is my real name, and even when I say, “yes,” some remain skeptical. This always ends up in a conversation about my Mom’s name (Virginia) and her Mom’s name (Virgie) and the likelihood that it actually was given to me on purpose.
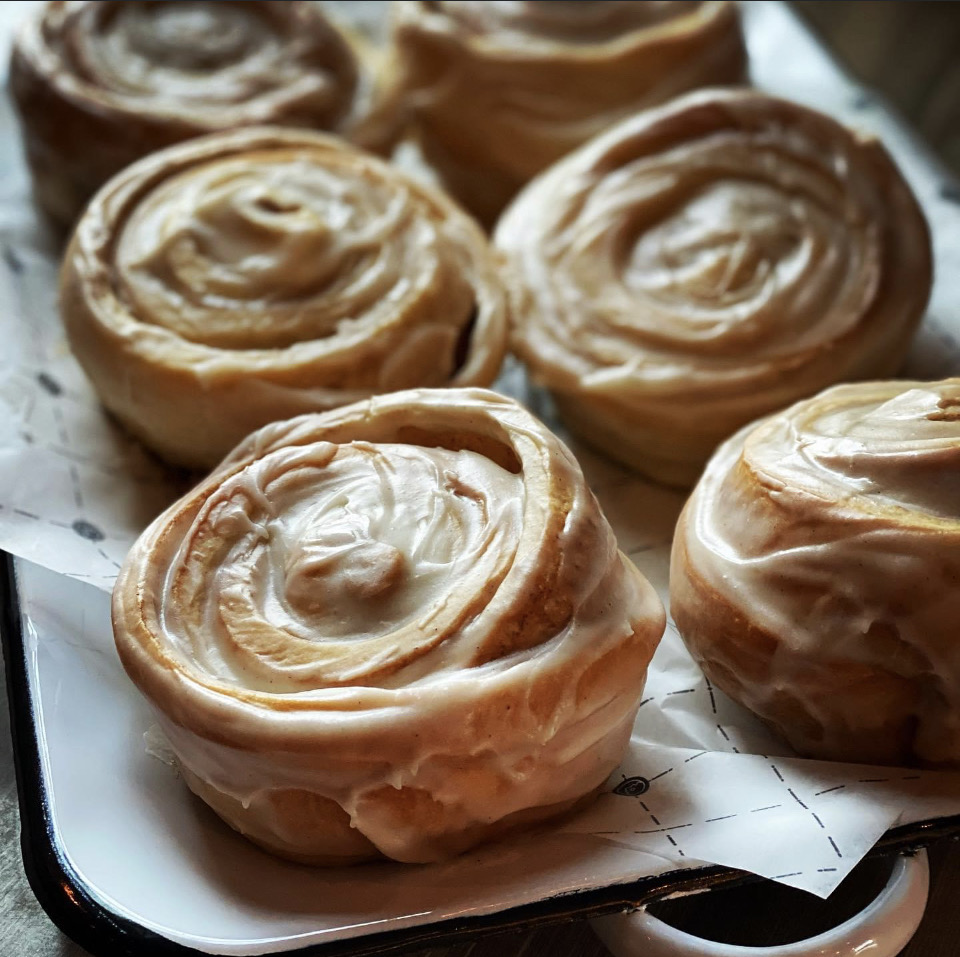
You can imagine that, growing up with a name like Ginger, nicknames were frequent: Gingersnap, GingerAle, Gingerbread… it was okay with me as I like them all. 🙂 In fact, gingerbread is one of my favorite things and I love making gingerbread houses.
So, when we finished the restoration, I asked our architects to make a to-scale pattern for me that would result in a 15” tall gingerbread house. (Imagine their eye-rolls.) But they did!!
Last year, in the middle of our crazy first month of opening, I tried out the pattern. Figuring out how to build it was much more challenging than I imagined. It required finding a way to support a roof that doesn’t sit on the walls, and cutting out the many, many (many!) small windowpanes found all over the building.
The pieces were so big, they wouldn’t fit in my home oven, so I took over the commercial ovens in the middle of the night, when the restaurants were closed. The first round of icing for the white stucco was so dry, it all fell off. Ugh. Way harder than I thought.


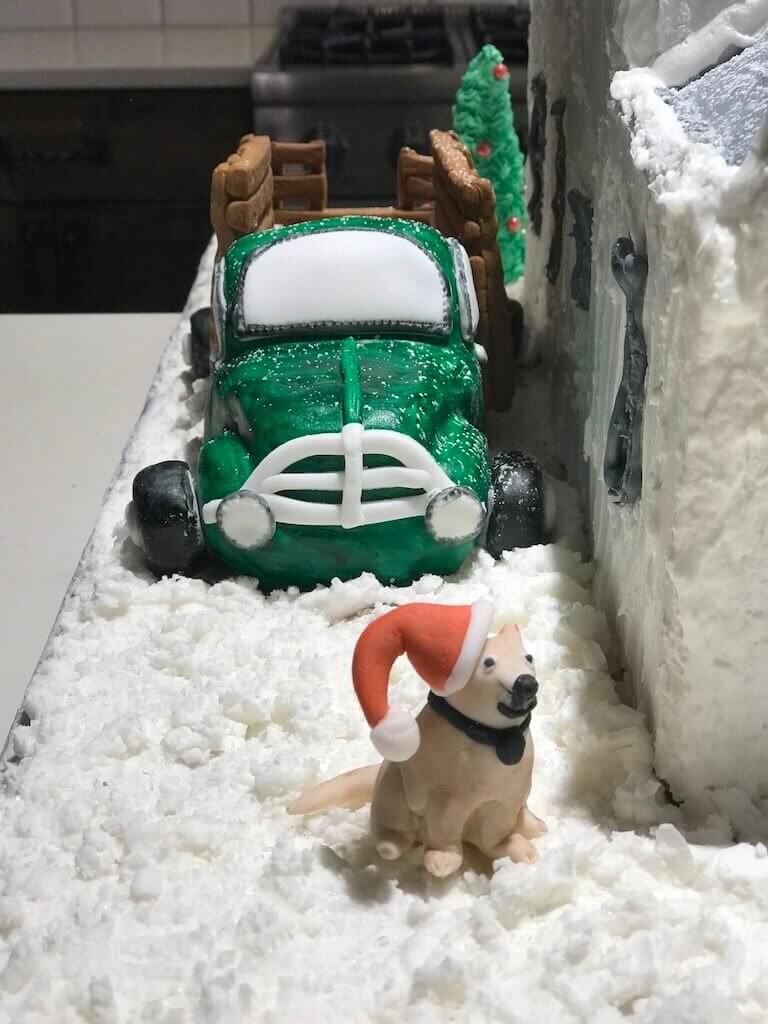
It finally happened, but it wasn’t without a few imperfections. I learned a lot, which helped improve the pattern and structural plan for 2018. This year, I also called in expert help from our Teaching Kitchen Coordinator, Sharon Phillips, who is a trained chef. Sharon made sugar glass for windows, and crafted a replica of our 1954 Chevy truck out of rice crispy treats and modeling clay. She even made a replica of Jed, the Top Dog here at Ginger and Baker.

It’s fun to share our gingerbread version of the building and we’re looking forward to the class in the Teaching Kitchen where guests can build small versions of their own. You’ll also find the recipe below and link to print out plans to build a gingerbread house at home. We hope you have time to include gingerbread fun during the holidays, and if you do, we’d love to see your photos!
Gingerbread House Recipe
Royal Icing
½ cup plus 2 Tbsp. liquid egg whites (5 oz.)
1 Tbsp. lemon juice
8 cups powdered sugar (or 2 pounds)
2 tsp. clear extract like peppermint (optional)
Method:
- Beat egg whites until frothy.
- Add the lemon juice.
- Set the mixer on low speed and gradually add the powdered sugar.
- Beat the icing on medium speed for 2-4 minutes, scraping the sides, until bright, light and fluffy.
- Add extract and mix until combined.
- Cover the icing with a wet towel while using to prevent the icing from drying out.
Gingerbread Cookie
Yield: 1 small gingerbread house
- 1/2 cup butter
- 1 cup sugar
- 1/3 cup light corn syrup
- 1/3 cup molasses
- 1/3 cup honey
- 6 cup all-purpose flour
- 4 tsp. ground ginger
- 2 Tbsp. cinnamon
- 1 tsp. salt
- ½ cup water
Method:
- In the bowl of a stand mixer or a large mixing bowl cream butter and sugar until light and fluffy.
- Add corn syrup, molasses and honey and mix until incorporated.
- In a separate bowl whisk together the flour, salt and spices.
- Add half of the flour mixture to butter mixture and mix until incorporated.
- Add the water to batter and mix until incorporated.
- Add the rest of the flour mixture and mix until combined. Scrape the sides of the bowl.
- Wrap the dough in cling wrap and flatten into a brick shape. Chill in the fridge for 4 hours or overnight. (Dough freezes well or can be refrigerated for up to 1 week.)
- Preheat oven to 325°F.
- Line two standard cookie sheets with parchment paper.
- Roll out the dough on a floured surface to about 1/8–inch thick.
- Using the gingerbread template to cut out the pieces for the house.
- Place the pieces on prepared cookie sheets, spacing about ½ inch between each.
- Bake for 15-20 minutes or until baked through and golden.
- Allow the cookies to cool completely.
Assembling Your Gingerbread House
Ingredients:
Baked gingerbread house pieces
Royal icing in piping bags
A base to place the house
Candy for décor
Method:
- Choose a base for your gingerbread house. A flat plate or a cardboard cake board work great.
- Gather the left and right side walls and the front and back pieces of gingerbread.
- Place your royal icing into a piping bag and cut the tip off the bag.
- Pipe a line of icing on the edges of one of the pieces. Set it onto your base (sometimes it’s great to have an extra set of hands during assembly. I will use an object like a heavy cup placed outside of standing piece to help hold it up while you assemble the rest of the pieces.
- Choose your next piece of gingerbread, ice the edges, and line it up to sit on the board attached to your originally placed piece.
- Repeat until the side walls and the front and back of the house are standing.
- Let the house dry overnight. If you try and place the roof on the house when the sides are still wet the house may cave in.
- Refrigerate your extra icing for the next day.
- After the house is dry begin assembly of the roof.
- Pipe icing around the edges of the roof pieces and set them on top of the base. If they’re balanced properly, they’ll sit in a way that support each other so they don’t slide down.
- If you’re using the Ginger and Baker front piece, pipe it with the icing and place on the front of the house now.
- Let the roof and front dry for several hours or overnight.
- Using your leftover icing pipe décor on your house and make it your own. Decorate with candies, draw on windows, and let your creativity shine!